How To Remove Shower Drain Cover Australia
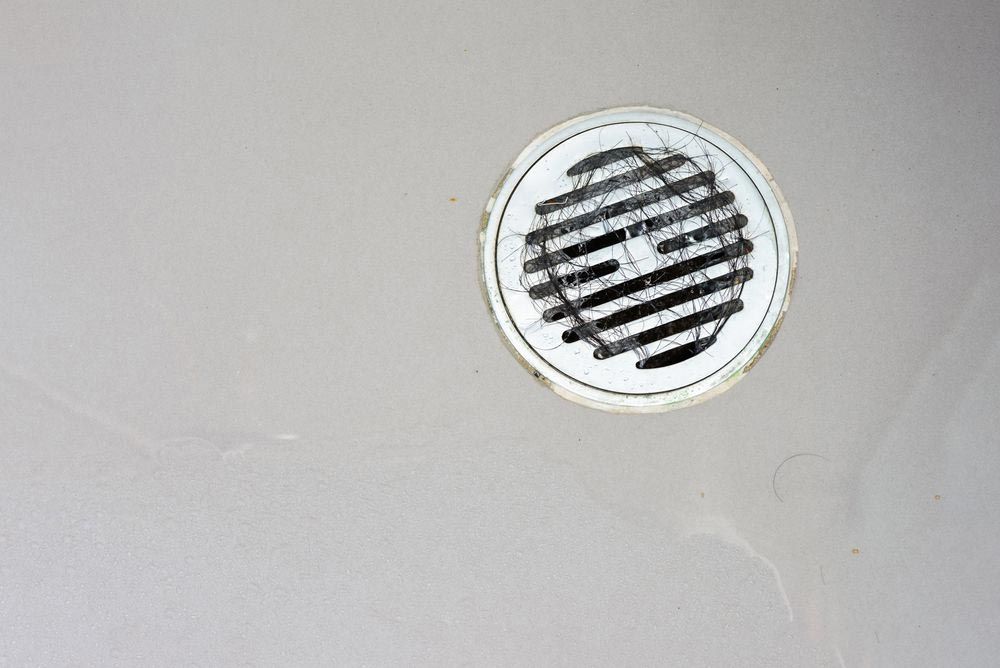
Over time, hair, soap scum and other assorted waste can build up in your shower drain, eventually causing slow draining and even a complete obstruction.
The easiest way to deal with this is simply to remove the shower drain cover and clear the outlet or channel beneath it. To make this task easier, we've listed the main types of shower drains, along with a list of pointers to assist you to remove each type.
Linear Drain
Common in modern showers and wet rooms, the linear drain is a rectangular grid or series of slats that covers a drainage channel.
- Use a linear drain key to remove the upper grid. If you don't have a drain key, use a flathead screwdriver.
- Wear gloves to remove unwanted build-up from the underlying channel and drainage hole.
- Replace the grid.
Point Drain
Point drains are drains located in one corner, or in the centre of a shower stall. The drain covers are usually circular or rectangular in shape.
Screw-in Point Drain
- Identify where the screws are on the drainage cover. There is usually one on either side of the cover or a single screw in the middle.
- Use the correct screwdriver (flathead or Phillips (crosshead) to remove the screws.
- Take care to ensure the screws don't drop down the drainage hole!
- Remove the drainage cover, clean the drainage hole, then replace the cover and screw it back into place.
Pull-out Point Drain Cover
- These don't have any screws holding them in place and haven't been screwed down into position. Note that it's easy to confuse these with lift and twist drain covers, which have a retaining screw. If the pull-out drain cover isn't moving readily, check that you've identified it correctly before trying additional loosening measures.
- Once you're sure you're dealing with a pull-out drain cover, simply give it a pull and a wriggle. This should be enough to release it.
- If it's stiff, pliers and/or a suitable lubricant may help.
Lift and Twist (Drain Cover with a Stopper)
- Make sure the stopper is in the closed position.
- Wrap the stopper in a cloth (to prevent scratching) and use pliers to turn it anti-clockwise.
- As the stopper loosens, check if there's a screw holding the stopper in position. If there is, unscrew it (in most cases you will need a small flathead screwdriver).
- You should be able to unscrew the drain cover and remove it.
Toe-Touch Drain Covers
These are modern covers designed to be easily operated by a toe whilst in the shower. A close inspection usually reveals that the cover is held in place by screws. They should therefore be removed in the same way as any other type of screw-in shower drain.
Lift and Pull (Drain Cover With a Stopper)
This type of drain cover is easy to confuse with the lift and twist. The main difference is that you don't need to unscrew the stopper. It will be held in place by a small screw under the stopper.
- Remove the top knob using a plier and a cloth, as for lift and twist drain covers.
- Unscrew the retaining screw underneath.
- Lift the drain cover out of the drainage hole.
- Make sure to store the screw somewhere safe before commencing cleaning operations.
- Clean out the drainage hole.
- Replace the drain cover by reversing the steps given above.
In most cases, drain covers can be removed easily using just screwdrivers and a pair of pliers.
Note that if you can't remove the drain cover easily, resist the urge to use brute force, as you can end up breaking the drain and even damaging the shower base.
Cape Byron Plumbing can help with stuck drain covers as well as a wide range of other plumbing issues.
Call (02) 6680 9997 to get a free quote for our services.

